It's not the first time I've ever cut my own hair, and I doubt it will be the last.
I know most hairdressers don't like us cutting our own hair, not because it loses them money, but because it may result in them having to repair our bad scissor skills, but I seriously dislike going to the hairdressers.
So that's why I sometimes cut my hair myself - or get Mr.R to do it for me.
But this time I decided to do it myself, and I liked the result.
Here's a step-by-step look at what I did.
I only cut a little bit of hair off, as my hair is only medium length.
I've been thinking about chopping all of my hair off.
I actually feel like shaving my head, a number one is what I would have, but I know that won't do me any favours looks-wise. So, the next best thing would be to chop it all really short.
This is my 'curtain' before I cut it.
I don't usually wear my hair like this, I centre parted it to cut it.
I've had very short hair in the past, and I liked it. Well, apart from the fact that short hair seems to require a lot of faffing about with, and I'm too lazy to bother. :o
This morning it was very cold, so cold that it even snowed, all be it briefly.
It was the falling snowflakes that snapped me out of going crazy with a pair of scissors like Betty; the character played by Beatrice Dalle in the film Betty Blue.
Instead I decided that less is more, especially when the weather is cold, so I just gave my hair a little trim.
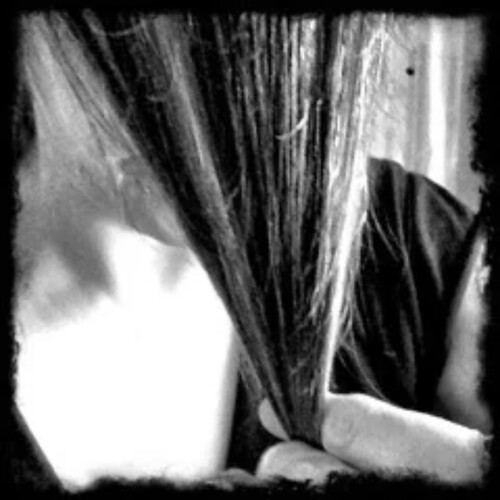
Step 1 - Combing hair forward in preparation to be cut.
I do not like going to hair salons, so I usually cut my hair myself, or Mr.R does it for me.
Today Mr.R was very busy in the kitchen, baking bread, making homemade hamburgers, and homemade chips, so I didn't think he'd appreciate me adding hair-cutting to his tasks.
Step 2 - The first twist.
I had a quick look on YouTube for suitable videos. I searched, 'face framing layers'.
I'm not sure why I bothered searching for a hair cutting video, because I've cut layers in my hair lots of times, and it's always turns out ok. Although I'm sure a professional hairstylist would disagree. Ha!
I quickly found what looked like a good hair cutting video.
It's called, 'How to shape hair around the face' by Sam Villa.
His video shows viewers a different way to cut layers around the face.
The method looked so simple, and he explained the process really clearly.
The method looked so simple, and he explained the process really clearly.
I tried the Sam Villa twist method to cut face framing layers in my hair, and it was a success.
His twist process worked very well. No doubt it would have worked even better if I'd used a comb as he suggested, and if my hair wasn't a lot thinner on one side of my head.
I don't have a comb.
Anyway, once I'd sectioned my hair as Sam Villa directed, I twisted my hair, grabbed my scissors, then snip - and that was it.
Done.
My hair now has face farming layers.
I'm so glad I found the Sam Villa video. He really knows what he's doing.
I'm also glad I didn't shave my head. The weather is freezing now, and having hair around my neck is helping to keep me warm. ;) :o
My face framing layers from the front. Not bad, even if I do say so myself.
I covered my face in the photos to make the hair clearer.
Let's face it (pun intended) the pics need all the help they can get.
I was half asleep whilst cutting my hair.
The bathroom was freezing cold, which meant my hands were quite numb.
The light is too yellow, hence the black and white photos.
Anyway, that's my excuse for the crappy photos. ;)
I was pleased with the results of my diy hair cutting. I think it turned out alright.
This video by Sam Villa definitely helped, so I hope it helps you too - if you decide to grab some scissors and get snipping on your hair.
Good Luck!
Do you ever cut your own hair?
Does it usually turn out alright?
Have you tried the Sam Villa 'Twist method'?


I wish more authors of this type of content would take the time you did to research and write so well. I am very impressed with your vision and insight. trolleysquarebarbers.com
ReplyDeleteHi buddy,
ReplyDeleteLOVE the new cut! I’ll link this post when I update my blog about my new cut. I started cutting my hair last year sometime after reading your blog and love doing it myself!!
Thanks. Homeplix